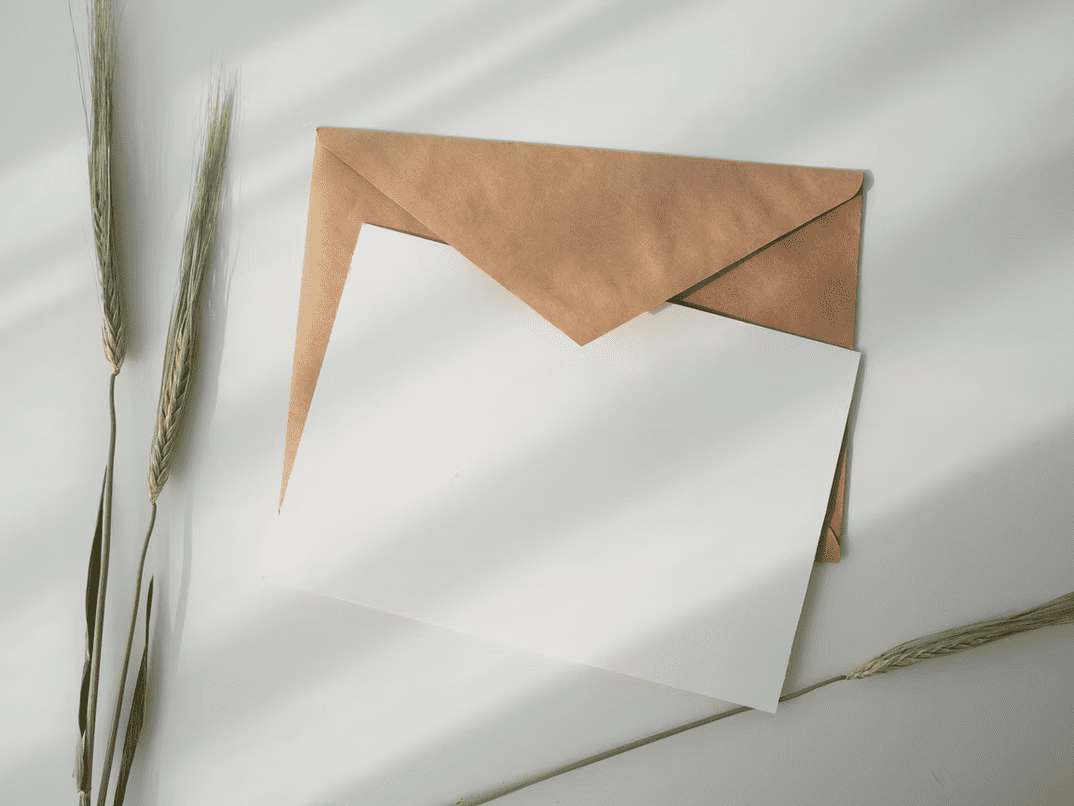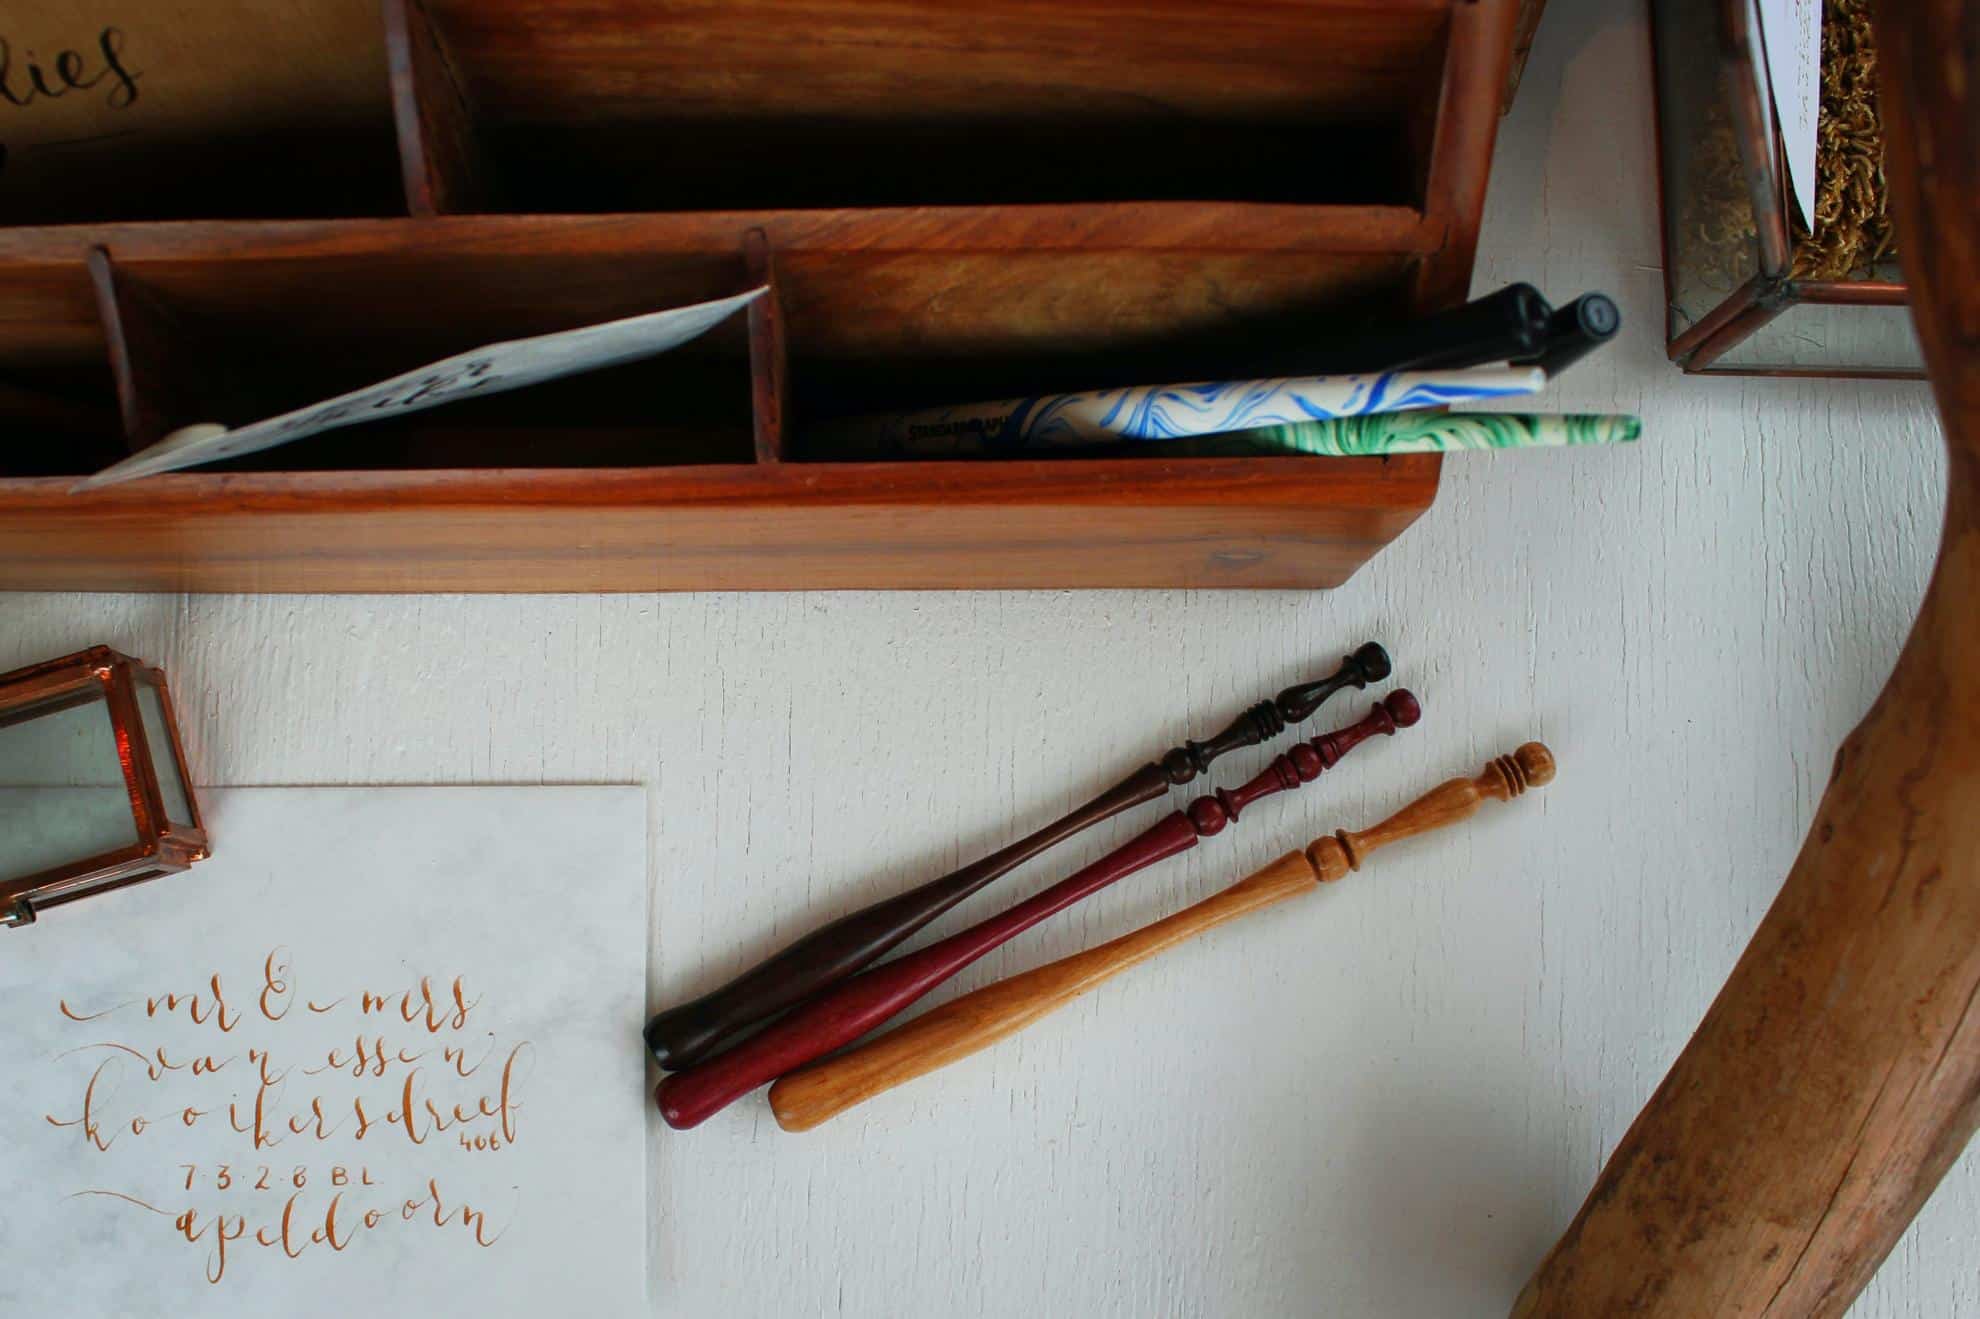
Vintage invitations are a great way to celebrate your event and get people in the mood before it even starts. But how do you actually go about making a vintage wedding invitation? What’s involved? Let’s take a look.
Select Your Basic Design
The first step is to select your basic design. If you’re doing the design on a computer, most software programs provide you with a list of templates to choose from. These are inspirations for the layout and let you see which details you should prioritize. Sometimes you’ll want to utilize graphics and imagery. Other times, you’ll want the words to be the most important part, such as wedding invitations. Remember, though, that photographs can prevent an invitation from looking vintage, so you’ll need to be very careful which you choose.
Choose The Size You Want
The next step is to choose the right size that you want. Small cars are good if you’re looking to save money, but larger ones are great for bigger, more prestigious events if you want to create an impression.
Remember, larger invitations are more reminiscent of vintage design. The bigger the card, the more historical it appears.
Most vintage cards were five by seven inches. However, 10 by 14 inches create more of an impression.
You’ll also want to consider the print orientation you choose. Printing portraits is good when you want to include a lot of information, while printing landscape is a great option for anyone looking for branding or marketing impact.
Write Your Message
The next step is to write your message. All invitations should contain basic information, such as what you’re celebrating, where you’ll be getting together, and when.

When writing a vintage invitation, take font, headlines, and colors into consideration. Also, consider the medium you’ll print on. Crate or metallic paper looks a lot more vintage than standard white printer paper.
Add Photos
The next step is to add some photos to your vintage invitation. These should clearly communicate your emotion and what you want them to evoke in other people.
As mentioned above, though, you’ll need to be careful when choosing photos. Not all will appear as vintage in the eyes of the people receiving wedding invitations. Some will appear too modern.
The good news is that putting vintage filters on images is now easier than ever. This way, you can make most images look historical, even if you took them this year. Just remember to exclude anything that looks like modern technology since that will undermine the item’s vintage appeal. Smartphones are not allowed.
Print Your Invitation
The final step is to print your invitation and send it in the mail to the people you want to invite to your event. Unless you have professional printing equipment in your home, you’ll want to send your prints to a printing shop set up to print on the medium you’ve chosen to use. For similar meticulous work, such as custom term paper creation, relying on professional services ensures exceptional quality and precision.
Printing an invitation in bulk offers the best value for money. However, if you’re only sending it to a few people, you’ll wind up paying more for the privilege.
