• 1920s
  • 1930s
  • 1940s
  • 1950s
  • 1960s
  • 1970s
  • 1980s
  • 1990s
  • Book
    • Facebook
    • Pinterest
    • RSS
    • Twitter

Vintage Life

Spreading Vintage Love - Fashion & Home Decor by Sammy D Vintage

  • Vintage Style
  • Weddings
  • Vintage Appraisal
  • About
  • Advertise
DIY Feather Earring Tutorial

DIY Feather Earring Tutorial

by Bonnie Leave a Comment

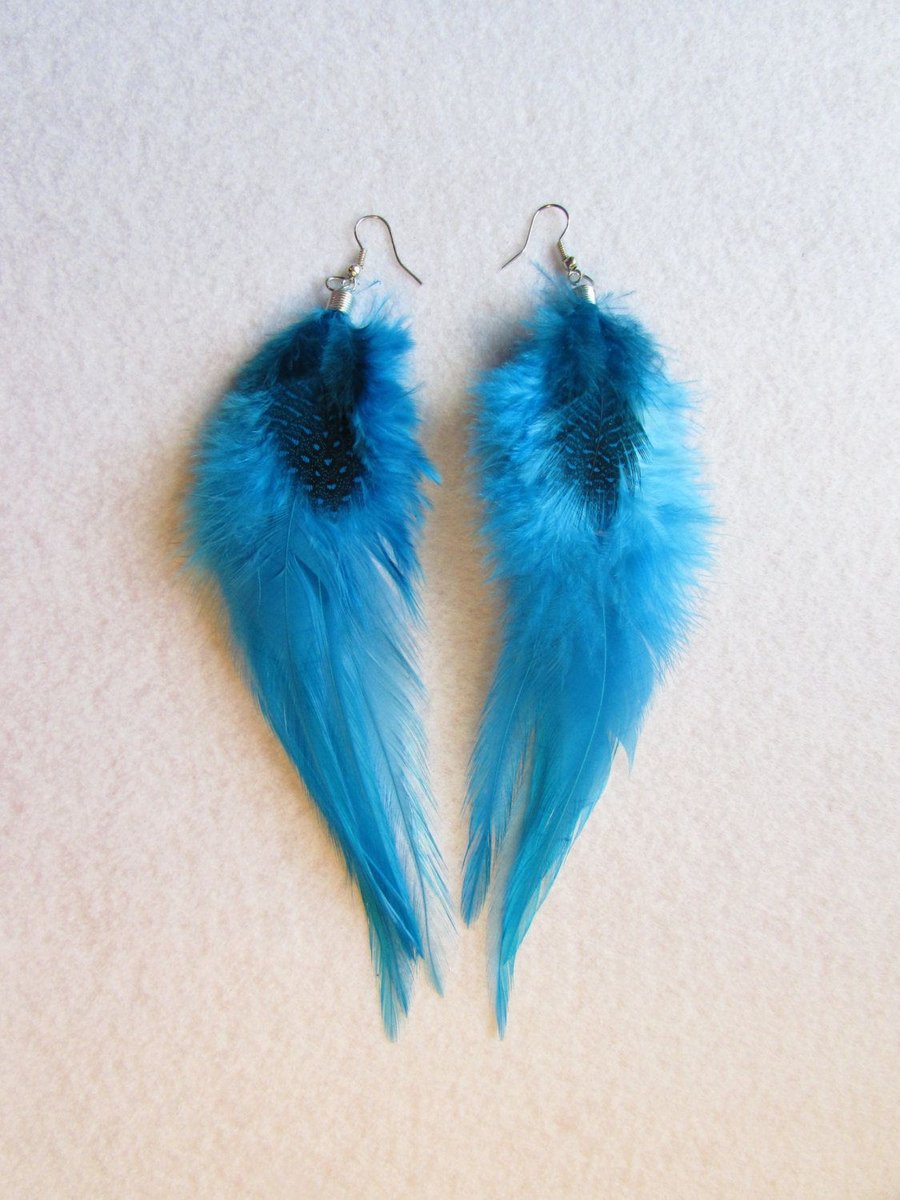
The other day my friend gave me a pair of gorgeous feather earrings that she had made herself. She used pretty coffee-brown feathers from a craft store, and little gold owl charms. I love DIY crafts, so of course I wanted to get more info out of her. She showed me the steps that she used, and I was surprised by how easy they were!

It made me think — couldn’t we make feather earrings out of items from second-hand stores? Yes! I love the browse the jewelry section of my local consignment shops, and I found that it’s easy to get the materials needed for this project (except for a few things), second hand. In this post, I’ll give you the exact steps. 

How to make DIY Feather Earrings
Source:

Are you ready to get started? First you need to hit the thrift shops, with an eye out for feathers. You can find them on boas, masks, costume jewelry, hats, costumes, and headdresses. If you don’t spot any feathers, head to a craft store or buy some online. 

1. Gather Your Supplies

Next, gather some simple jewelry making supplies: 

  • needle nose pliers (optional — these can make the project easier)
  • 2 jump rings
  • 2 ribbon crimps
  • Earring hooks (if you like, you can take apart used earrings, and just keep the hooks)
  • 2 beads (optional)

2. Assemble Each Earring

Source: snapguide.com

Separate out two feathers (or more) that you want to use for your earrings. If you are using two or more feathers per earring, line up the shafts of the feathers, and thread them through a bead so that they will stay aligned. Next, wrap the ribbon crimp around the end of the feather (the base of the shaft). Thread a jump ring through the ribbon crimp, and fasten this to your earring hook. Done! 

3. Add the Details

Source: lc.pandahall.com

If you’d like to add a charm, beads, or some fringe to your earring, now is the time to do it. Attach these extra items to a separate jump ring, so that they can swing and move independently from the feather. 

I love taking a creative project, like making earrings, and seeing what happens when I use second-hand items. I had so much fun scouring my local thrift store for feathers. I found a bright pink feather boa, and I was able to grab it for just a few bucks. I think my friends and family will be getting pink feather earrings as gifts for years to come! If you give this project a try, be sure to tell me how it goes, in the comments section below! 


Related Posts

  • 7 Old-Fashioned Recipes to Try at Home7 Old-Fashioned Recipes to Try at Home
  • 3 Shabby Chic DIY Projects for your Garden3 Shabby Chic DIY Projects for your Garden
  • Vintage Weddings: Everything Old is New Again!Vintage Weddings: Everything Old is New Again!
  • Here to Stay & Not to Miss: 4 Luxe Wedding TrendsHere to Stay & Not to Miss: 4 Luxe Wedding Trends

Filed Under: DIY, Thrifting

The opinions expressed here by Sammy D Vintage editors are their own, not those of Sammy Davis or Sammy D Vintage.
« 21 Creative Ways to Use Thrifted Scarves
3 Reasons to STOP Visiting Your Neighborhood Thrift Store »

Leave a Reply Cancel reply

Your email address will not be published. Required fields are marked *

Popular

  • How Union Labels Help to Date Your Vintage Clothing
  • How to Identify Vintage Clothing Labels in a Thrift Store
  • Little Details You Need To Get Right For Your Wedding Day
  • Your Vintage Wedding: 17 Unique “Something Old” Ideas
  • 5 Ways To Re-Purpose Your Vintage Fabric Finds

Download My Book: The 100 Best Vintage Shops Online

Looking for something?

Common Questions

  • How to Thrift Store Shop
  • Vintage Style for Beginners
  • Thrifting for Beginners
  • How to Date Clothing as Vintage
  • 10 Careers in Vintage Fashion
  • 13 Tips for Identifying Vintage Labels & Tags

More about Sammy

Hi! My name is Sammy and I created this website as a place for myself and others to share their love for finding, selling and styling vintage. I believe that all woman can make vintage fashion a part of their wardrobe, and I hope that you’ll join me on this journey as we spread vintage love together!
  • Home
  • Popular
  • About
  • The Book
  • Thrifting
  • Vintage Style
  • Dating Vintage
  • Advertise

Let’s Connect

  • Facebook
  • Pinterest
  • Twitter
  • YouTube

Looking for something?

© Sammy Davis Vintage, 2011-2022. All rights reserved.

Disclosure Advertising & Privacy Policy · DMCA. In full disclosure, this post may contains links to help support my site! Advice on this site will always free, but free won’t pay the bills!

Posting....